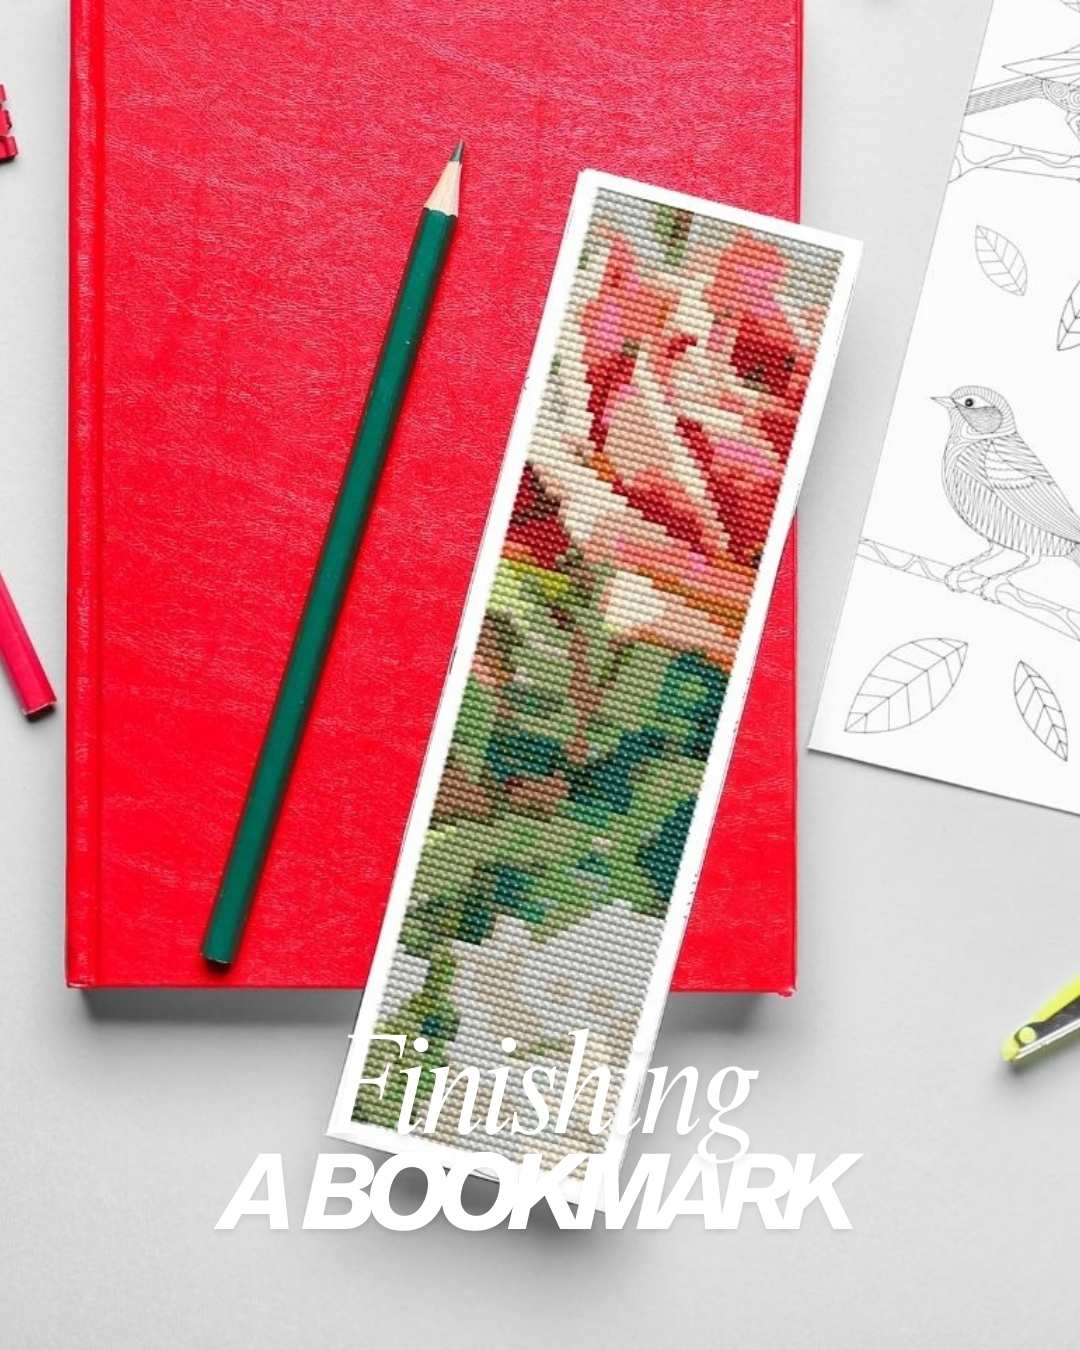
A cross stitch bookmark is one of the most satisfying projects you can make. It is small enough to finish quickly, useful every day and a thoughtful handmade gift for any book lover. Once the stitching is done, a neat finish makes it look and feel professional. Here is how to do it.
What You Need
- Your finished cross stitch (a bookmark kit is perfect)
- Sharp scissors
- An iron, ironing board and pressing cloth
- Backing fabric, such as felt or cotton
- A needle and thread, or fabric glue
- Optional: Fray Check or clear nail polish
- Optional: ribbon, tassel or decorative trim
Step 1: Prepare the Stitching
Trim the edges of the fabric, leaving about 1/2 inch (1.25 cm) around the stitching for finishing. If the piece needs freshening, wash it gently first. Our guide to caring for your finished cross stitch explains how.
Lay the piece face down on a clean, fluffy towel, cover the back with a pressing cloth and iron on a low setting. Pressing face down keeps your stitches raised and undamaged.
Step 2: Prepare the Backing
Cut the backing fabric to the same size as your trimmed piece. Felt is the easiest choice, because it does not fray and gives the bookmark a little body. To stop either fabric from fraying, apply a thin line of Fray Check or clear nail polish along the edges and let it dry completely.
Step 3: Attach the Backing
Choose the method that suits you:
- Sewing: pin the two pieces wrong sides together and sew around the edge about 1/4 inch (6 mm) in, using a running stitch or whip stitch. For a decorative edge, use blanket stitch in a coordinating colour.
- Fabric glue: apply a thin line of glue around the edges of the backing, press the stitched piece on top and smooth it flat. Leave it to dry as the manufacturer advises.
A tidy back makes finishing much easier. If loose ends cause lumps, see mastering thread endings.
Step 4: Add Finishing Touches
Once the backing is secure, trim any uneven edges with sharp scissors for a crisp finish. Then personalise it by sewing or gluing a ribbon or tassel to the top, or adding a decorative trim along the sides. For extra sparkle, try a few beads on the tassel.
Step 5: Press One More Time
Give the finished bookmark a last gentle press, using a pressing cloth to protect the stitches and fabric. It is now flat, neat and ready to use.
Step 6: Enjoy It
Slip it into your current read or wrap it as a gift. Handmade bookmarks are lovely presents for birthdays, teachers and book club friends. See why cross stitch makes a great gift and our thoughtful gift ideas using cross stitch kits.
Prefer to Watch?
Follow along with our video tutorial:
More Ideas for Small Designs
Bookmarks are just one option. Discover 10 creative ways to display your finished cross stitch, or see why small cross stitch designs bring so much joy.
Our bookmark kits feature famous artworks and charming designs, sized for a quick, rewarding finish. If you are using your own supplies, browse our bookmark patterns. Fancy something spooky? Try The Scream bookmark kit.
Stitch Your Own Bookmark
Bookmark kits are small, quick and make a lovely handmade gift.
Shop Bookmark Cross Stitch Kits
Prefer to start from a chart? Browse our bookmark patterns.




Leave a Reply