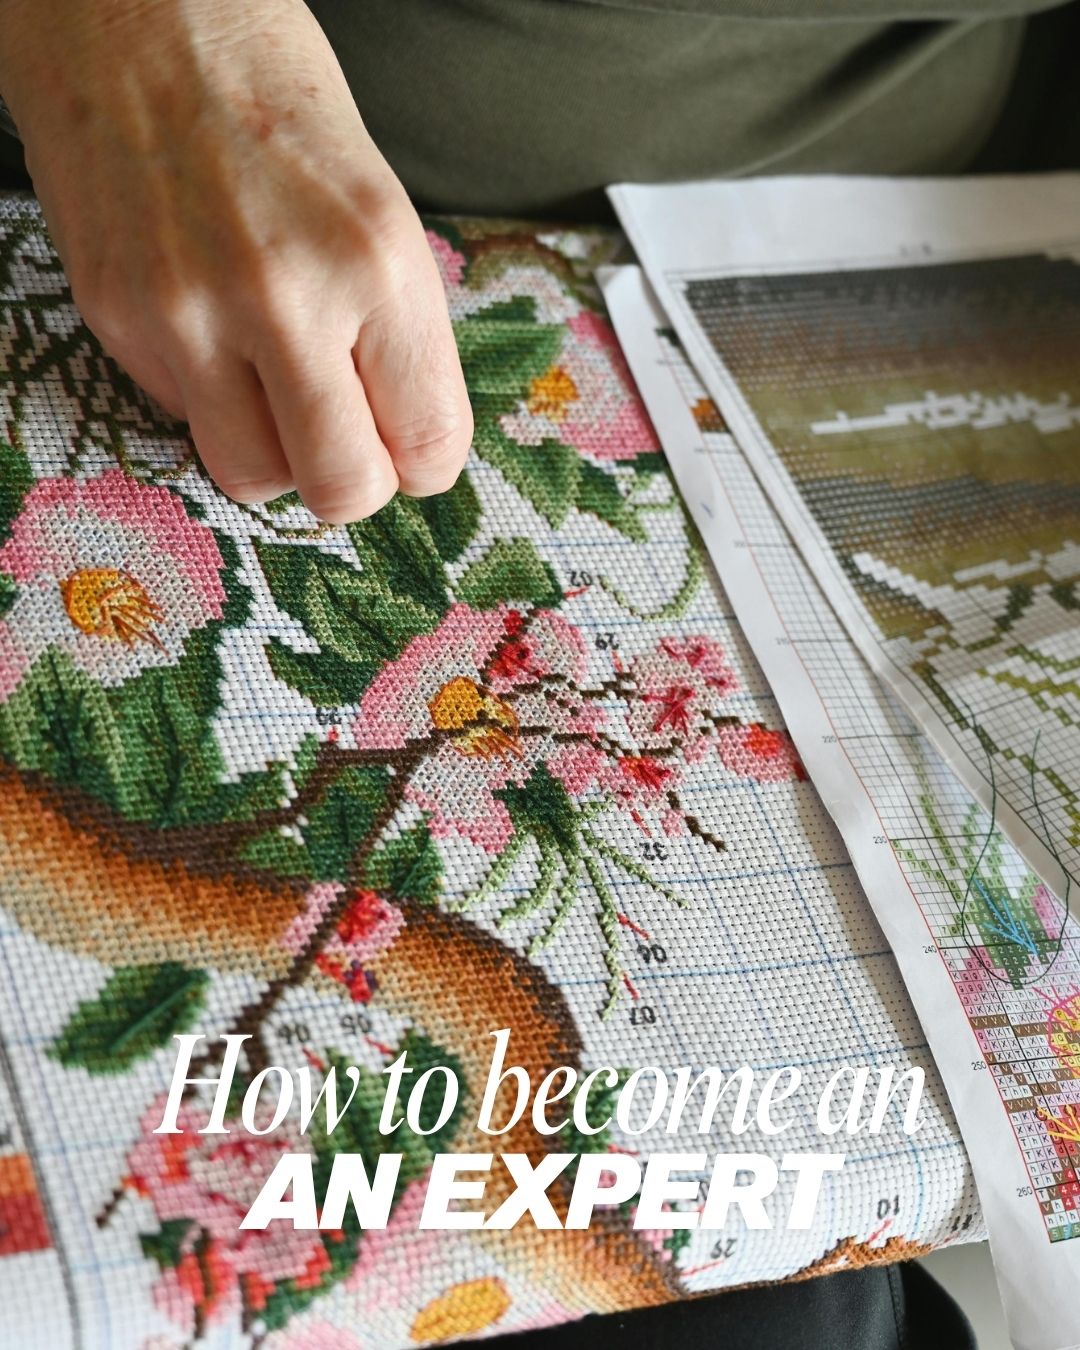
I still remember my first cross stitch: a wobbly little heart on a scrap of Aida, with knots on the back so thick you could feel them through the fabric. That was over a decade ago. Since then I have stitched hundreds of pieces, wasted my share of floss and slowly gathered the habits that turned me from someone who stitches into someone who knows this craft well.
If you are starting out, I would like to spare you some trial and error. This is not a dry manual but the advice I wish I had when I was tangled in my first skein, wondering why my stitches never looked like the picture. Let’s dive in.
1. Love the Boring Basics First
Nobody tells beginners that the “boring” fundamentals are where the magic comes from later. I was so keen to stitch pretty pictures that I skipped them, and it showed: uneven tension, stitches facing random ways and a back like a bird’s nest.
Once I slowed down and practised on purpose, everything changed:
- Keep tension even. Not too tight or loose, just enough that the fabric does not pucker.
- Cross every stitch the same way. Choose a direction for the top stitch and stick to it. It separates work that looks handmade with love from work that looks handmade with effort.
- Ditch the knots. I switched to the loop start years ago and never looked back. See mastering thread endings.
- Cut shorter threads. Long strands fray and thin out mid-section. About 15 to 18 inches is the sweet spot. More in preventing twists and knots.
Allow yourself to practise on something small and unimportant. My “practice square”, a scrappy piece of fabric I still keep in my kit, has taught me more than any finished project.
2. Treat Supplies as Tools

I used to think good stitching was all skill. It is also about the right tools, and a few upgrades made a real difference:
- Try linen or evenweave when ready. Aida is a wonderful teacher, but my first time on 32-count linen felt like levelling up overnight. See Aida vs evenweave and linen.
- Match the needle to the fabric. Too big stretches the holes; too small is a struggle to pull through. I keep an assortment for different counts. See choosing the best needles.
- Find a hoop or frame you love. I am embarrassingly attached to my favourite hoop. Taut fabric, or good in-hand tension, is one of the biggest factors in stitch quality.
- Light is non-negotiable. I waited years to buy a proper daylight lamp and regret it. Your eyes will thank you.
- Organise floss your way. I use bobbins colour-coded by project. Find what saves you from a floss avalanche.
3. Read a Pattern, Don’t Just Count It
This took me years and may be the biggest shift between beginner and expert. At first I counted every square one by one, like reading a phone book. Now I see shapes: a cluster of colour here, a curve there, the way a musician reads a bar instead of single notes.
- Practise on a pattern with scattered “confetti” stitches. It is tedious but builds precision.
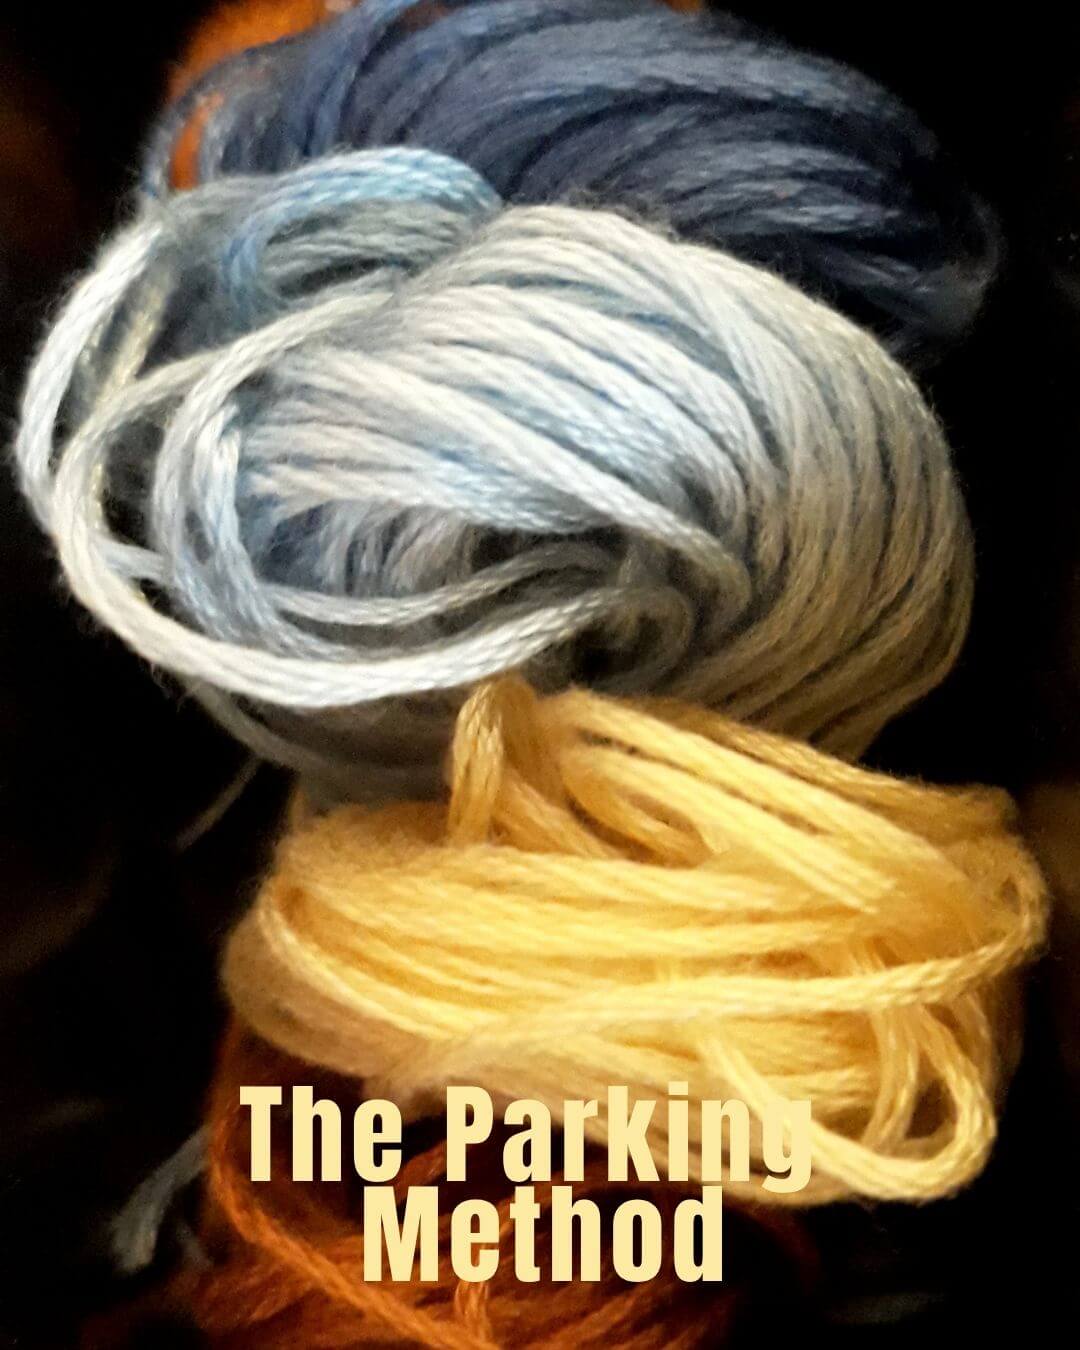
- Work in sections rather than row by row like a typewriter. Gridding your fabric and the parking method make this much easier.
- Get comfortable with symbol keys and fractional stitches early. They become second nature faster than you expect.

4. Expand Your Technique Toolkit
This is my favourite part, and where I urge every beginner to get a bit adventurous. These techniques moved my work from “fine” to “did you really make that?”
- Backstitch like it matters, because it does. Clean outlines make a piece pop. See essential backstitching tips.
- Use fractional stitches for curves. Quarter and three-quarter stitches soften edges so nothing looks like a staircase. See half stitching.
- Blend threads. Two shades in one needle give shading a flat colour cannot. I use it for skies, skin and shadows.
- Try railroading. Slide the needle between the two strands before pulling through so they lie flat and parallel instead of twisting. Subtle, but experts notice.
- Use the Danish method for speed and consistency on rows of one colour. See our guide.
- Don’t fear speciality stitches. French knots and beads add texture and personality.
5. Use Fabric Count Creatively
I used to treat fabric count as a technical detail. Now I see it as a creative choice, like picking a canvas size for a painting.
- Higher counts (25, 28, 32) hold incredible detail, perfect for portraits and intricate florals, but need patience and good light.
- Lower counts (11, 14) stitch up fast and suit bold, graphic designs, great for gifts or quick finishes.
- Learn the formula: stitch count ÷ fabric count = finished size in inches. When it clicked, I began planning my own projects. More in understanding fabric count.

6. Make the Craft Your Own
I did not feel like an expert on finishing a hard pattern but the first time I designed my own. If you want to try:
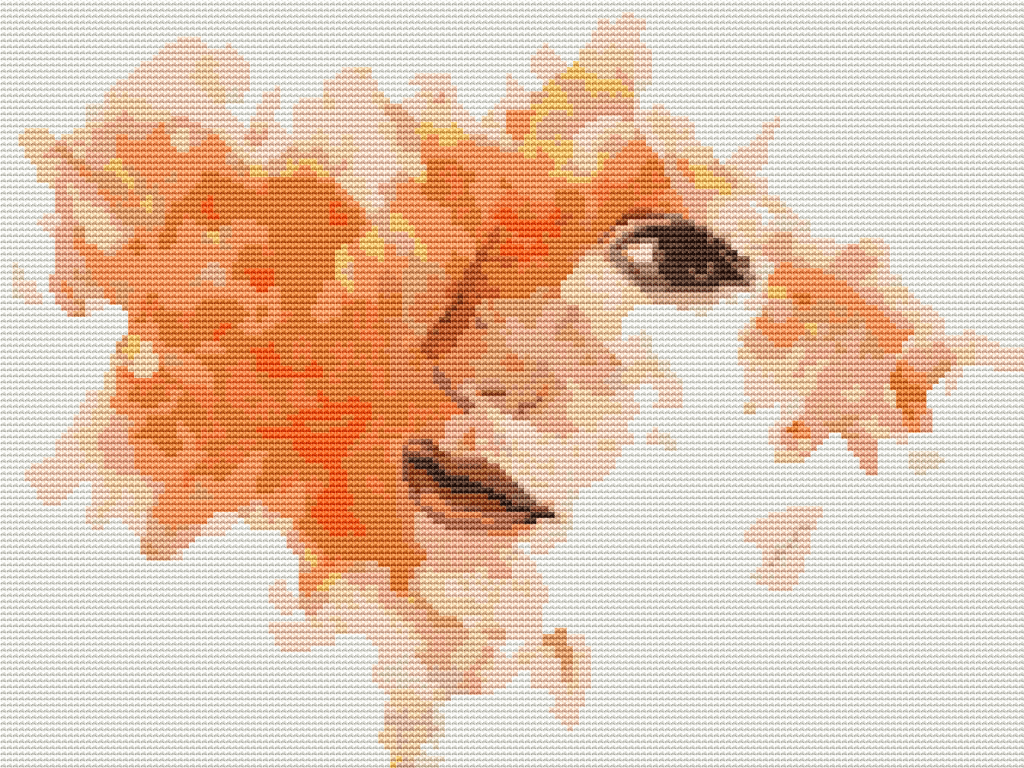
- Turn a favourite photo into a chart with pattern software, or let us do it with Stitch a Photo.
- Sketch a simple design on graph paper first. My early sketches were rough, but that is how you learn to think in stitches.
- Swap floss colours to make an existing pattern feel like yours.
Designing makes you think about density, contrast and readability in a way following patterns never quite does. See transforming art into cross stitch.
7. Finish With Care
I have seen gorgeous projects let down by rushed finishing, and made that mistake often myself.
- Wash gently in cool water with mild soap before framing. See caring for your finished cross stitch.
- Press face down on a towel, never directly onto the stitches.
- Pick a finish that suits the piece: framing, hooping, a cushion or an ornament. I decide before starting now, since it changes how I plan the borders. See how to frame your cross stitch.
- Protect against fading with UV-safe glass and a spot away from direct sun. Some early pieces of mine faded, and it still stings.
8. Make It a Habit, Not a Sprint
None of my progress came from talent. It came from showing up with a needle again and again.
- Keep a small portable project for waiting rooms, car rides and tea breaks. Mini kits are perfect.
- Set gentle goals, such as a section a week, instead of rigid deadlines.
- Alternate an easy, comforting project with a challenging one. I always have both going.
9. Find Your People
I did not improve in isolation. Other stitchers taught me techniques I would never have found alone.
- Follow stitchers whose work you admire and notice how they talk about their process.
- Join a group where you can ask questions without feeling silly. Every expert once asked, “Wait, what is a half stitch?”
- Try a stitch-along now and then. Some of my favourite techniques came from projects I would never have chosen.
10. Notice Your Own Growth
Now and then look back at early work. Flip pieces over and check the back; a neat back often shows your tension and thread handling have matured. Study pieces you admire and ask why they work: the blending, the backstitch placement, the fabric choice.
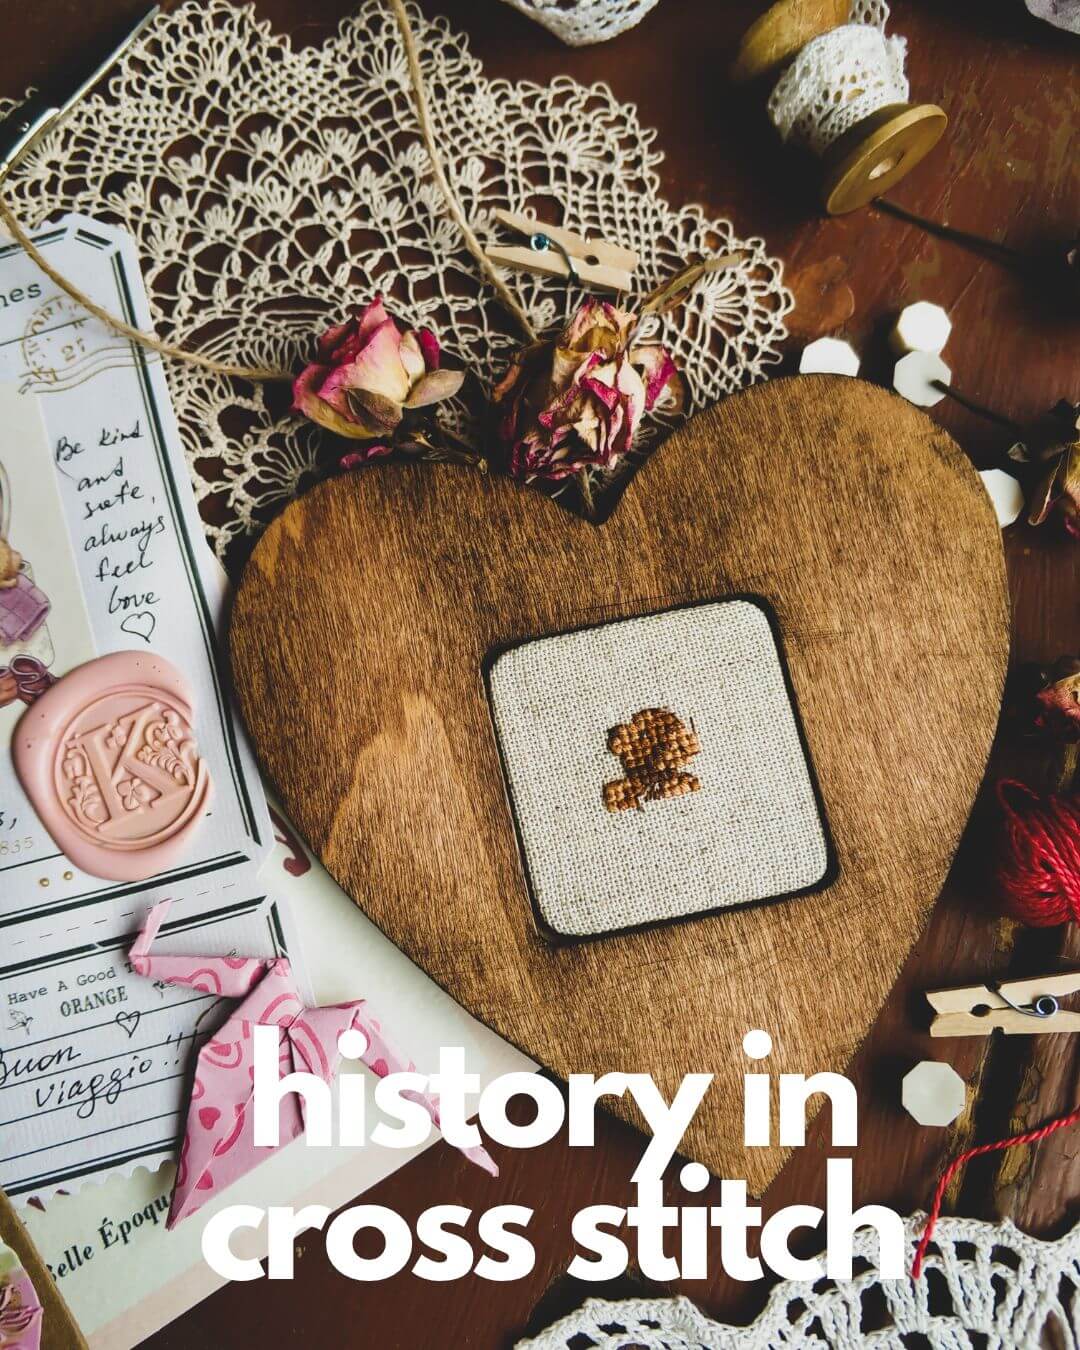
I still have that wobbly first heart with its lumpy knots, pinned up in my studio, not because it is beautiful but because it shows how far patience and practice can take you.
A Final Word, Stitcher to Stitcher
Nobody becomes an expert overnight, and I don’t think you ever finish learning this craft. I still pick up new tricks. What matters is that you keep showing up, keep experimenting and let yourself be a beginner at each new technique before mastering it.
Choose one thing from this list for your very next project. That is exactly how I got here: one stitch, one small improvement at a time. If you are brand new, start with my top 10 tips for beginners.
Discover Your Next Stitch
Explore designs inspired by the world’s greatest artists, with everything you need in the box.
Shop Premium Cross Stitch Kits
Prefer a smaller project? Try our mini kits, or browse our cross stitch patterns.

Leave a Reply