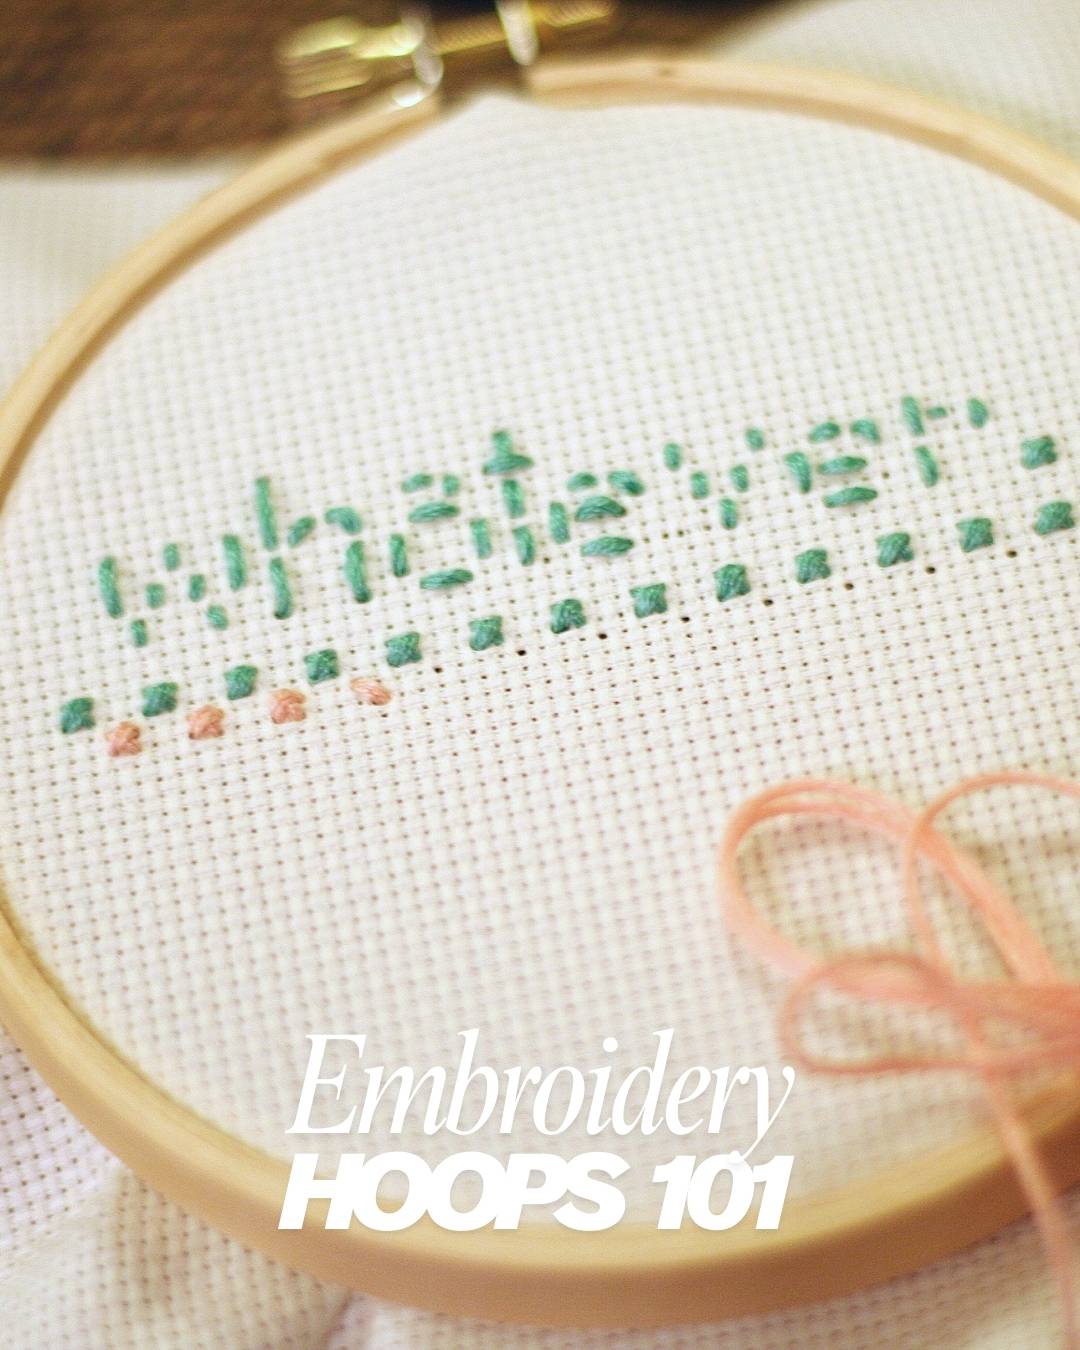
You have started cross stitch, stared at your loose fabric, and now you wonder: do I really need an embroidery hoop, or is it just another accessory for your shopping basket? The short answer is that beginners usually find one helpful. The longer answer is below, because the hoop debate is more interesting than you might think.
What Is an Embroidery Hoop?

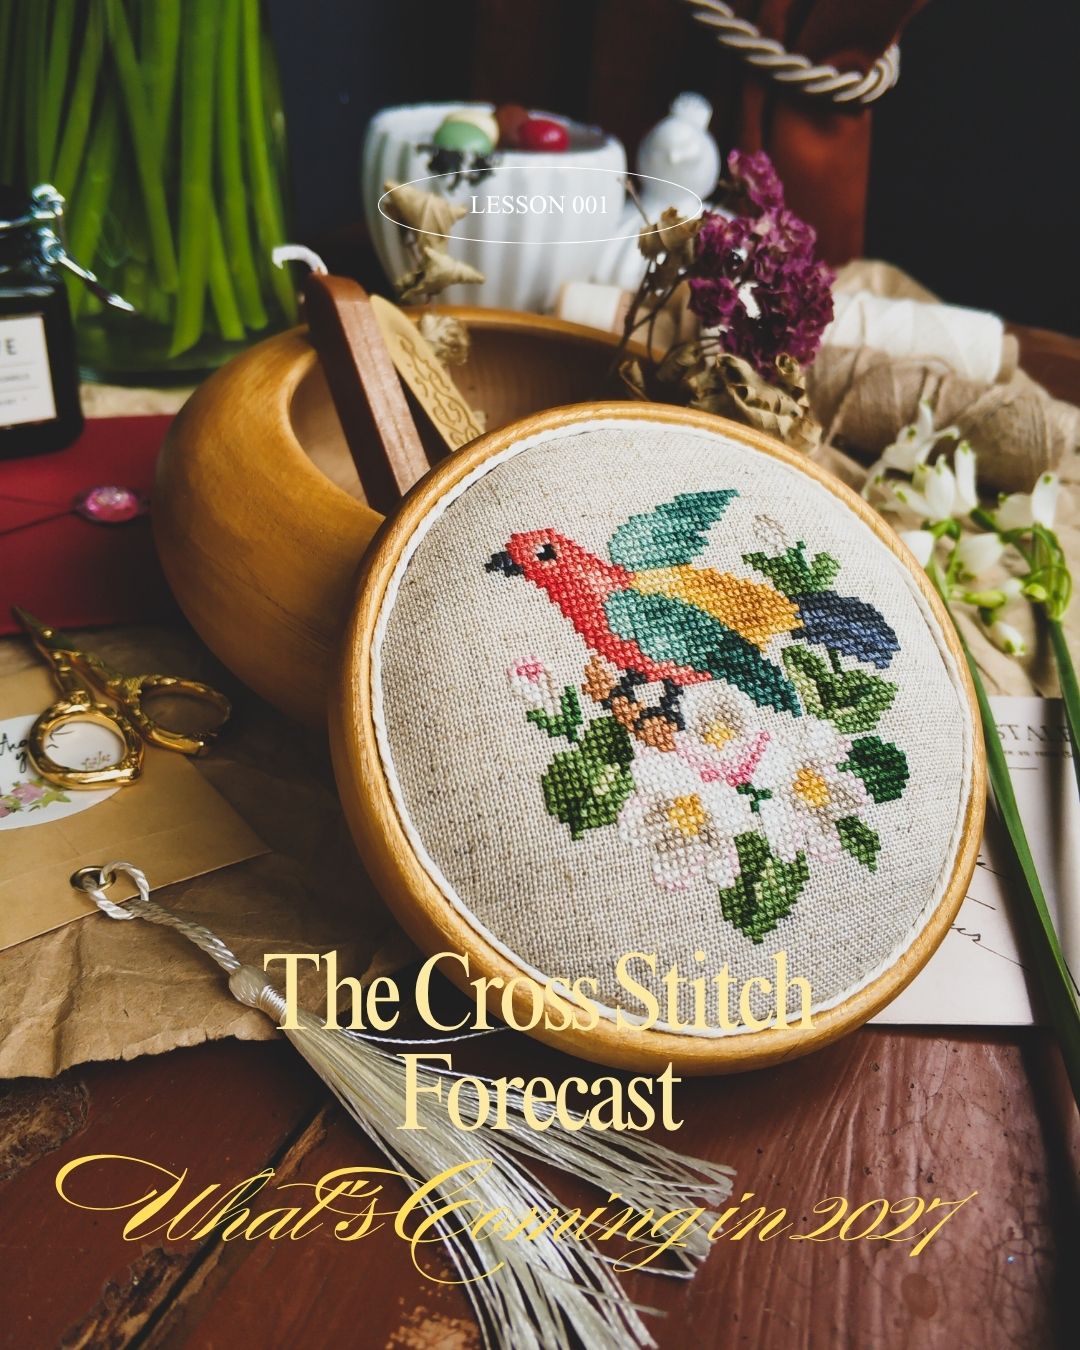
An embroidery hoop is a simple tool made of two rings, one inside the other, that holds your fabric flat and taut while you stitch. It stops the fabric from sagging halfway through a project. It is not glamorous, but it is very useful.
The Benefits of a Hoop
- Keeps the fabric taut. Cross stitch relies on even tension, and a hoop helps your stitches come out neat and consistent.
- Improves accuracy. Loose fabric shifts, taut fabric stays put. It helps most with detailed work such as backstitching and French knots, where you want both hands free.
- Reduces hand fatigue. Without a hoop you can end up gripping the fabric tightly. A hoop gives a stable surface so your hands can relax.
- Helps beginners. Think of it as stabilisers on a bike. You can learn without it, but it makes things easier.
The Drawbacks
- Hoop marks. Leave your project in the hoop too long and it can leave rings or crush stitches.
- Constant repositioning. As the piece grows, you have to keep moving the hoop.
- Distortion. Over-tightening can stretch the fabric out of shape.
- Awkward on large projects. Many stitchers move to scroll frames, Q-snaps or stitching in-hand for big pieces.
Should a Beginner Use One?
Usually, yes. Cross stitch already asks for patience, counting and a little spatial awareness. A hoop removes one variable and keeps your stitches consistent while you learn. For more starter advice, see what you need to start cross stitching and our top 10 tips for beginners.
Tips for Using a Hoop
- Snug, not strangled. The fabric should be taut like a drum, not stretched until the weave distorts.
- Move it often. Reposition the hoop so it does not sit on the same stitches for long, which avoids permanent marks.
- Pick the right size. Too small and you are always moving it. Too big and it is awkward to hold. Something comfortable, typically 6 to 8 inches, suits most projects.
- Take it off after each session. Left in, the fabric stretches and creases. Our care guide explains how to press out marks.
- Consider a grippy hoop. Some have a lip or rubber lining to stop slipping, and good wooden hoops hold fabric well too.
When You Can Skip It
- You are working on a large, advanced piece.
- You prefer a scroll frame or stand.
- You use the Danish method and like a quick “sewing” motion.
- You simply like stitching in-hand.
Many experienced stitchers work in-hand for flexibility and speed. Read why in our Danish method guide, but treat it as an advanced skill rather than a beginner strategy.
Final Thoughts
A hoop is not a requirement, but it does make life easier and your stitches cleaner. You could stitch without one, but as a beginner there is little reason to make things harder. And once the piece is finished, a hoop doubles as an easy frame. See creative ways to display your cross stitch.
How to Put Fabric in a Hoop
Stock Up on Your Stitching Essentials
Everything you need for your next project, from hoops and scissors to needles and more.
Ready for a new project? Try one of our beginner cross stitch kits.


Leave a Reply