
Beginning a large cross stitch is thrilling and slightly daunting. Creating an intricate artwork with needle, thread and fabric is hugely rewarding, but a plan helps. Here is a step-by-step guide to starting well and keeping going to the final stitch.
1. Choose the Right Pattern
You will spend a long time with a big project, so pick a design that excites you.
- Size and complexity: bigger designs with more colours take longer. Be ready for the commitment, or begin with a medium design.
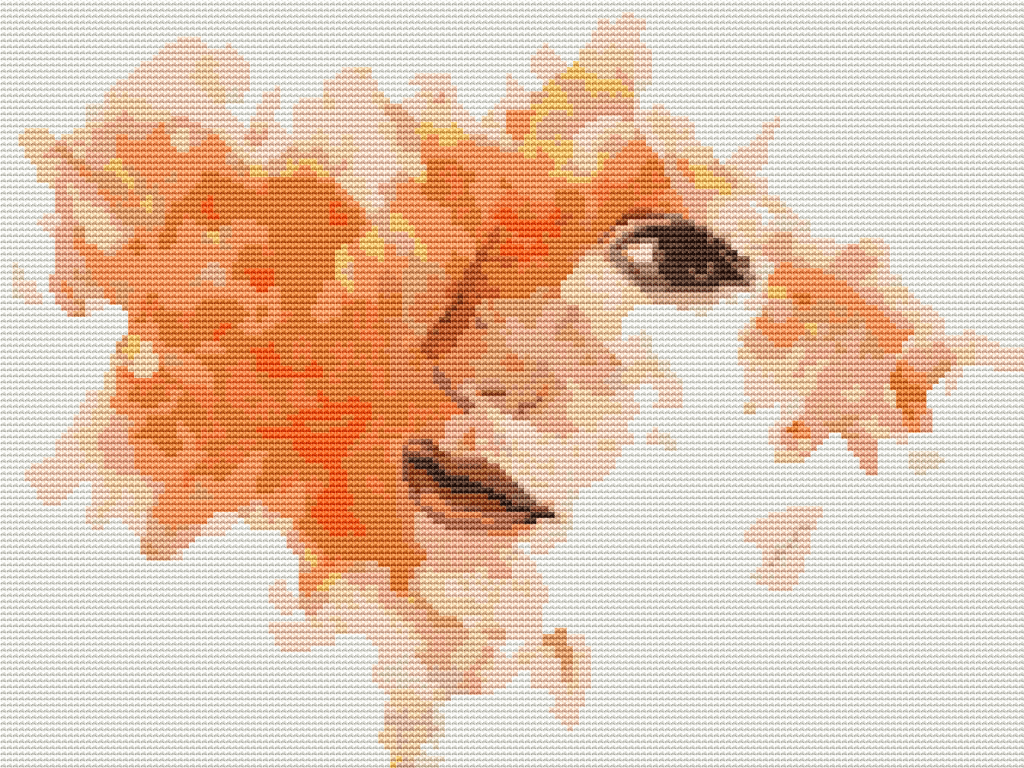
- Theme: choose something you love, from a landscape or portrait to a famous painting or something whimsical. Passion keeps you going.
- Quality: pick a well-made chart with clear, readable symbols. Many designers sell PDF patterns as well as full kits.
2. Gather Your Supplies
- Fabric: Aida or evenweave. The count sets stitch size and final dimensions; higher counts give more detail but a smaller piece. See Aida vs evenweave and linen.
- Thread: most patterns use DMC or Anchor numbers. Keep threads on labelled bobbins, as big projects have lots of colours.
- Needles: blunt tapestry needles sized to your fabric, with several on hand if you plan to park. See choosing needles.
- Hoop or frame: a hoop or scroll frame keeps fabric taut, and scroll frames suit large pieces.
- Scissors: small, sharp embroidery scissors.
- Chart markers: highlighters, or Pattern Keeper for PDFs.
3. Prepare Your Fabric
- Cut generously: work out the finished size and add at least 3 inches on every side for framing. See fabric count explained.
- Stop fraying: bind the edges with masking tape, a zigzag stitch or a whip stitch.
- Find your start: fold the fabric in half each way for the centre, or follow your pattern if it is stitched page by page from a corner.
- Grid it: on large designs, gridding every 10 stitches saves endless counting.
4. Set Up Your Space
A big project needs a comfortable home with good light and everything within reach:
- A project bag to keep fabric, chart and threads together
- A daylight lamp or magnifier for fine detail
- A comfortable chair and good posture
For ideas, see setting up a calm corner.
5. Start Stitching
- Work in sections: tackle one chart page or a 10 by 10 block at a time.
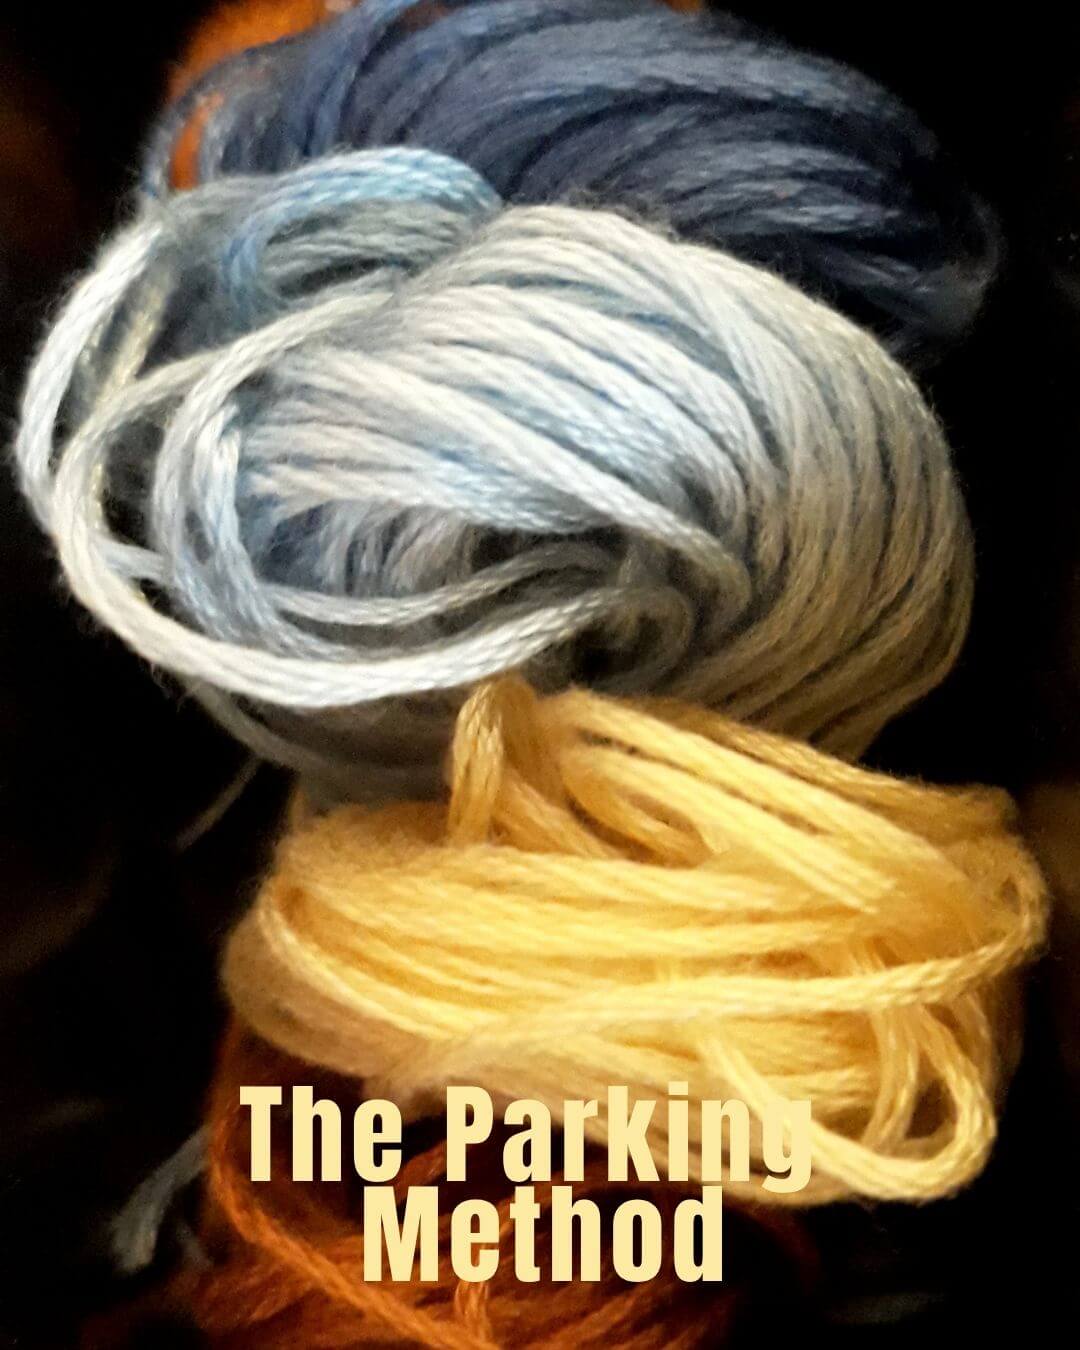
- Try parking: with many colour changes, the parking method keeps you organised and cuts thread ends.
- Stitch efficiently: the Danish method speeds up runs of one colour.
- Keep tension even for a smooth finish.
- Take breaks. It is a marathon, so rest your eyes and hands.
6. Stay Motivated
Big projects can take months or years. To keep going:
- Set small goals, such as a page a month or 30 minutes a day.
- Photograph your progress. Looking back is wonderful.
- Share the journey with the online stitching community.
- Keep a quick side project for easy wins. Mini kits are perfect.
7. Finishing Touches
- Wash and press: follow how to care for your finished cross stitch.
- Frame or display: see how to frame your cross stitch, or make it a cushion or wall hanging.
Final Thoughts
A big cross stitch is a journey of patience and love for the craft. Pick a design you adore, prepare well and work steadily, and you will have a piece to be proud of for years. Happy stitching!
Put It Into Practice
Choose a design that suits your skill level and start stitching today, with everything you need in the box.
Short on time? Try a mini cross stitch kit, or browse our cross stitch patterns.


Leave a Reply